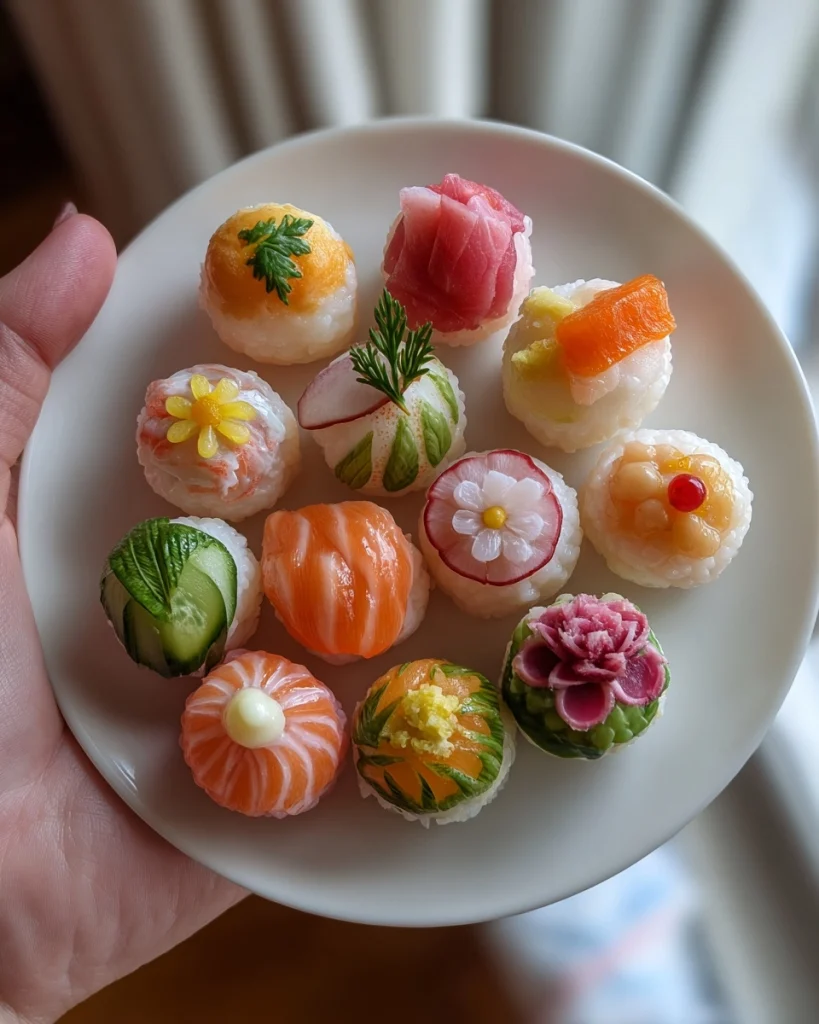
Sushi Bites (mini sushi hapjes)
As a busy mom, I know how challenging it can be to whip up something delicious yet simple. That’s where these Sushi Bites come in! These delightful mini sushi hapjes are not only a feast for the eyes but also a burst of flavor in every bite. Whether you’re hosting a gathering or just need a quick snack, these little gems are perfect for impressing your loved ones. Plus, they’re fun to make! So, roll up your sleeves and let’s dive into this culinary adventure together!
Why You’ll Love This Sushi Bites
These Sushi Bites are a game-changer for busy days! They come together quickly, making them a fantastic option for last-minute gatherings or a cozy family night. The taste? Absolutely divine! Each mini sushi hapje is packed with fresh ingredients that dance on your palate. Plus, they’re versatile! You can customize the fillings to suit everyone’s preferences, ensuring that even the pickiest eaters will be satisfied.
Ingredients for Sushi Bites
Gathering the right ingredients is the first step to creating these delightful Sushi Bites. Here’s what you’ll need:
- Sushi rice: This short-grain rice is sticky and perfect for holding everything together.
- Water: Essential for cooking the rice to the right texture.
- Rice vinegar: Adds a tangy flavor that balances the sweetness of the sugar.
- Sugar: Just a touch to enhance the flavor of the rice.
- Salt: A pinch to season the rice and bring out its natural taste.
- Nori (seaweed): The wrap that holds your sushi bites together; it adds a lovely umami flavor.
- Cucumber: Fresh and crunchy, it adds a refreshing bite.
- Avocado: Creamy and rich, it complements the other ingredients beautifully.
- Cooked shrimp or crab meat: For a protein boost, these seafood options are delicious and easy to work with.
- Soy sauce: A must-have for dipping, it enhances the flavors of your sushi bites.
Feel free to get creative! You can swap out the shrimp or crab for tofu or extra veggies for a vegetarian twist. If you’re looking for sushi-grade fish, make sure to visit a reputable seafood market. For exact measurements, check the bottom of the article where you can find everything available for printing.
How to Make Sushi Bites
Now that you have your ingredients ready, let’s get rolling—literally! Making Sushi Bites is a fun and rewarding process. Follow these simple steps, and you’ll have a platter of delicious mini sushi hapjes in no time!
Step 1: Rinse the Sushi Rice
Start by rinsing the sushi rice under cold water. This step is crucial! It removes excess starch, which can make the rice gummy. You want your rice to be sticky but not overly so. Rinse until the water runs clear, and then you’re ready for the next step.
Step 2: Cook the Rice
In a pot, combine the rinsed rice and water. Bring it to a boil over medium heat. Once boiling, reduce the heat to low, cover, and let it simmer for 20 minutes. After that, remove it from the heat but keep it covered for another 10 minutes. This resting time allows the rice to finish cooking and become fluffy.
Step 3: Season the Rice
While the rice is resting, mix rice vinegar, sugar, and salt in a small bowl. Stir until everything is dissolved. Once the rice is ready, transfer it to a large bowl and gently fold in the vinegar mixture. This adds a lovely flavor to your sushi bites!
Step 4: Prepare the Nori
Lay a sheet of nori on a bamboo mat or a clean surface. Make sure the shiny side is facing down. This is where the magic happens! The nori will hold all your delicious fillings together, so it’s important to prepare it properly.
Step 5: Assemble the Sushi
Spread a thin layer of sushi rice over the nori, leaving a small border at the top. This border is essential for sealing the roll later. Now, arrange your cucumber, avocado, and shrimp or crab meat in a line across the rice. Be creative with your presentation; it makes a difference!
Step 6: Roll the Sushi
Now comes the fun part—rolling! Start from the bottom and use the bamboo mat to help you roll tightly. Apply gentle pressure as you roll to keep everything together. Don’t worry if it’s not perfect; practice makes perfect!
Step 7: Slice and Serve
Once you’ve rolled your sushi, it’s time to slice! Use a sharp knife to cut the roll into bite-sized pieces. Wipe the knife with a damp cloth between cuts to keep the edges clean. Serve your Sushi Bites with soy sauce for dipping, and watch them disappear!
Tips for Success
- Use a sharp knife for clean cuts; it makes a world of difference!
- Keep a bowl of water nearby to wet your hands while handling the rice.
- Don’t overfill your sushi; less is more for easy rolling.
- Experiment with different fillings to find your favorite combinations.
- Practice rolling tightly but gently to avoid squishing the ingredients.
Equipment Needed
- Bamboo mat: Ideal for rolling sushi, but a clean kitchen towel works too.
- Sharp knife: Essential for slicing; a serrated knife can also do the trick.
- Pot with lid: For cooking the rice; a rice cooker is a great alternative.
- Mixing bowl: To combine the rice and seasoning; any large bowl will suffice.
Variations of Sushi Bites
- Vegetarian Delight: Swap shrimp or crab for marinated tofu or a medley of colorful veggies like bell peppers and carrots.
- Spicy Tuna: Use sushi-grade tuna mixed with a bit of sriracha for a kick. It’s a flavor explosion!
- California Roll Style: Incorporate imitation crab, avocado, and cucumber for a classic twist on the traditional sushi bite.
- Fruit Fusion: Try adding mango or pineapple for a sweet and tropical flavor that pairs beautifully with the savory rice.
- Quinoa Sushi: For a gluten-free option, replace sushi rice with cooked quinoa. It’s nutritious and adds a unique texture!
Serving Suggestions for Sushi Bites
- Fresh Edamame: A light and healthy side that complements the flavors of sushi.
- Pickled Ginger: Serve alongside for a refreshing palate cleanser between bites.
- Green Tea: A warm cup enhances the sushi experience and aids digestion.
- Beautiful Platter: Arrange your sushi bites on a colorful platter for an eye-catching presentation.
- Garnish: Add sesame seeds or microgreens for a touch of elegance!
FAQs about Sushi Bites
Can I make Sushi Bites ahead of time?
Absolutely! You can prepare the sushi rice and fillings in advance. Just roll them up right before serving to keep everything fresh. If you have leftovers, store them in an airtight container in the fridge for a day or two.
What can I use instead of nori?
If nori isn’t your thing, you can use rice paper or even lettuce leaves for a fresh twist. Just keep in mind that the flavor will change slightly, but it can still be delicious!
Are Sushi Bites gluten-free?
Yes, these Sushi Bites can be gluten-free! Just ensure that your soy sauce is labeled gluten-free, as traditional soy sauce contains wheat. You can also use tamari as a great alternative.
How do I store leftover Sushi Bites?
To keep your sushi bites fresh, wrap them tightly in plastic wrap and store them in the fridge. They’re best enjoyed within a day or two, as the rice can dry out over time.
Can I use raw fish in my Sushi Bites?
Yes, you can! Just make sure to use sushi-grade fish from a reputable source. It’s essential for safety and flavor. If you’re unsure, stick with cooked seafood or veggies for peace of mind.
Summarizing the Joy of Sushi Bites
Creating Sushi Bites is more than just cooking; it’s about sharing joy and flavor with those you love. Each mini sushi hapje is a delightful explosion of taste, bringing smiles to faces around the table. The process of rolling and assembling these bites can be a fun family activity, turning a simple meal into a cherished memory. Plus, the versatility of ingredients means everyone can enjoy their favorites. So, whether it’s a casual snack or a festive gathering, these sushi bites are sure to elevate your culinary experience and create lasting moments of happiness!
PrintSushi Bites: Discover Irresistible Mini Sushi Hapjes!

Sushi Bites are delightful mini sushi hapjes that offer a burst of flavor in every bite, perfect for parties or as a snack.
- Prep Time: 30 minutes
- Cook Time: 20 minutes
- Total Time: 50 minutes
- Yield: 4 servings 1x
- Category: Appetizer
- Method: Rolling
- Cuisine: Japanese
- Diet: Gluten Free
Ingredients
- 1 cup sushi rice
- 1 1/4 cups water
- 2 tablespoons rice vinegar
- 1 tablespoon sugar
- 1/2 teaspoon salt
- 4 sheets nori (seaweed)
- 1/2 cucumber, julienned
- 1 avocado, sliced
- 4 ounces cooked shrimp or crab meat
- Soy sauce, for serving
Instructions
- Rinse the sushi rice under cold water until the water runs clear.
- Combine the rice and water in a pot and bring to a boil. Reduce heat, cover, and simmer for 20 minutes.
- Remove from heat and let it sit covered for 10 minutes.
- In a small bowl, mix rice vinegar, sugar, and salt until dissolved. Stir this mixture into the cooked rice.
- Lay a sheet of nori on a bamboo mat or clean surface.
- Spread a thin layer of sushi rice over the nori, leaving a small border at the top.
- Arrange cucumber, avocado, and shrimp or crab meat in a line across the rice.
- Roll the sushi tightly from the bottom, using the mat to help shape it.
- Slice the roll into bite-sized pieces.
- Serve with soy sauce for dipping.
Notes
- Feel free to customize the fillings based on your preferences.
- For a vegetarian option, substitute shrimp or crab with tofu or additional vegetables.
- Make sure to use sushi-grade fish if using raw seafood.
Nutrition
- Serving Size: 4 pieces
- Calories: 150
- Sugar: 1g
- Sodium: 200mg
- Fat: 3g
- Saturated Fat: 0.5g
- Unsaturated Fat: 2g
- Trans Fat: 0g
- Carbohydrates: 28g
- Fiber: 2g
- Protein: 5g
- Cholesterol: 20mg